
DIY: Prada Marfa Sign
When it comes to Gossip Girl, I am not embarrassed to admit that I know a bit too much about the show, and anyone who's a fan knows about the top-notch art collection shown in GG's various Upper East-side apartments.
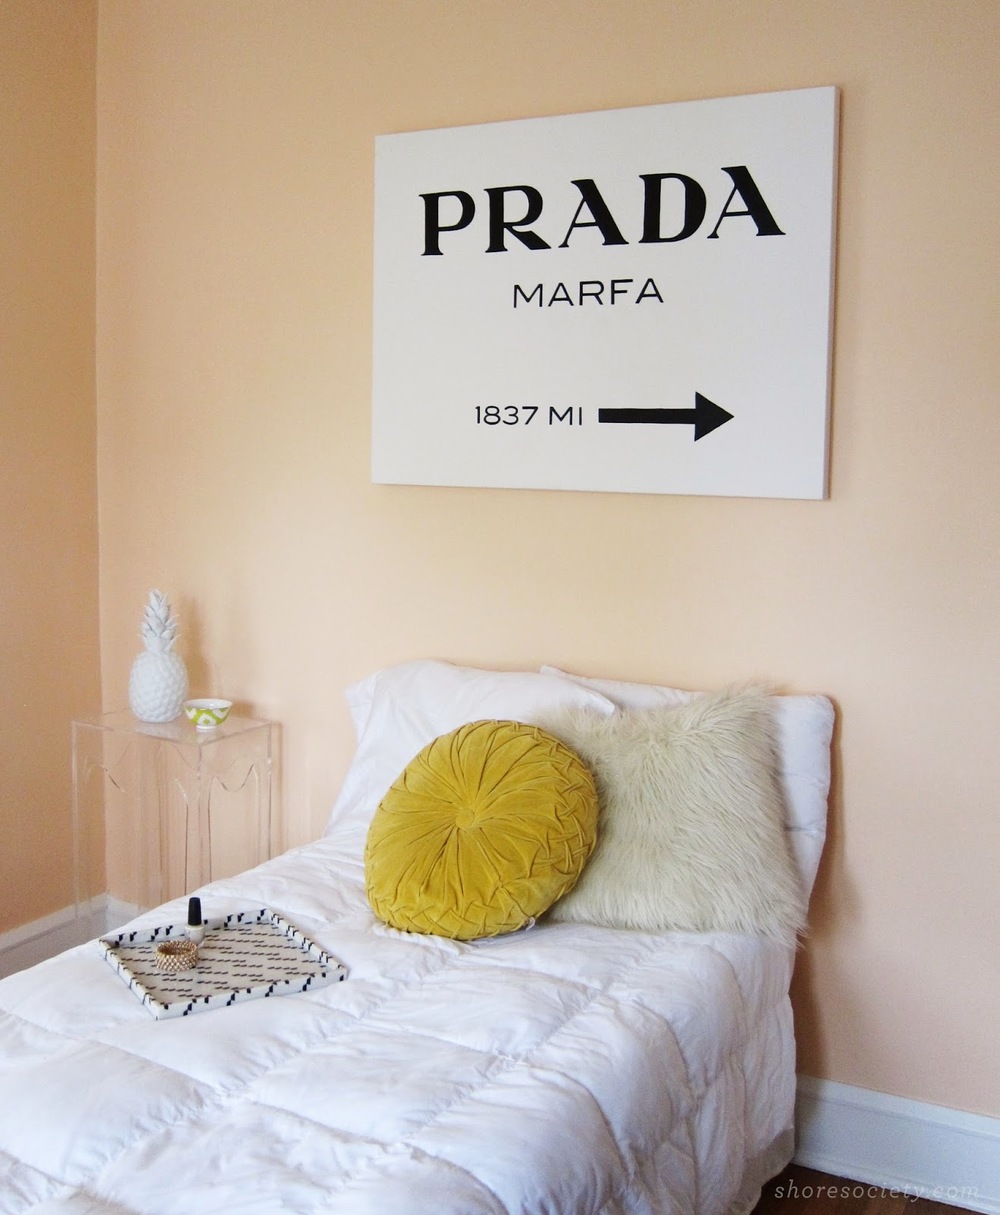
One of the set's most recognizable pieces is an illuminated sign by Elmgreen and Dragset, meant to serve as a road sign for the pair's famous art installation – a non-functioning faux Prada store about 60km outside of Marfa, Texas. It serves as a perfectly chic backdrop to the stylish characters and money-drenched drama—it's always somewhere in the scene. It's black+white and gorgeous, so clearly, I wanted it in our peachy-glam guest room.
As an art enthusiast lacking an art collector's budget, my only options to own this iconic piece were to either purchase a canvas version here, or make my own. You all know I like a challenge, so off to the drawing board I went. This looks a lot harder than it was (although it takes a steady hand) so here's a step-by-step plan if you're interested in making your own.
WHAT YOU'LL NEED:
Pre-stretched art canvas - I went with 30x40" for the full large-scale effect, like the original.
Black acrylic paint + brushes
Black permanent marker
Printer
Adobe Photoshop or image editing software
X-acto knife and cutting mat
Ruler
Easily removable tape (painter's or washi tape will do)

1. Start by creating the template for the design. To do this, I used an image of the artwork online, and imported it into Photoshop. I created a new Photoshop file in the size of the canvas (30x40") and imported the image as a layer in that file. I played with the scale of the art until the size looked correct, and printed the giant image out by tiling it onto regular letter-sized sheets of paper. Each printer is different, so I can't exactly walk you through how to do this, but Google can be helpful if you're not sure. Since you'll be scaling up a low-res web image, the letters will be pixellated, but you can cut away that fuzzy pixel halo when you trim the letters out.
2. To make the stencils, you'll carefully cut out each number and letter. I found that it made the most sense to cut the larger characters out ("Prada" and the arrow) and the smaller characters away from the sheet of paper, keeping them together like a stencil. This way, they're easier to trace and you won't have to worry about aligning each letter on the baseline, as they're already aligned for you.
3. Use a ruler to figure out the placement of the stencils on the canvas. I recommend having an image of the actual art pulled up on your computer, or printed out, so you can reference the linespacing. It won't necessarily be mathematically even, you just want it to look right. Double-check all of your measurements to be sure nothing is slanting up or down—the type is the hero here, and anything "off" will become pretty obvious once you paint. When you're sure, carefully tape everything down.
4. Now, trace everything. Use a pencil and be very, very gentle. It's difficult to erase pencil off of canvas, and you'll only need a ghost of a line to guide you during the painting process.

5. Once you've outlined everything, remove the stencils and tape and double check that everything looks correct before you begin to paint. I suggest taking a look from a distance – prop the canvas up against a wall and see how it looks from there.

6. Finally, you'll paint in the letters. You can make it easier on yourself by outlining the letters with a marker first, to get crisper edges. You'll probably need a few coats of paint to get everything looking solid. It's actually better to have your paint thinned down a bit with water or acrylic medium, because it will make the paint glide more smoothly across those detailed curves. Just keep layering the paint on, allowing it to dry between coats. Acrylic dries very quickly—by the time I finished one application, the first letter I did was ready for a recoat.

Easy as that! I feel like Lily Van Der Woodsen already. We're still working on finishing up the guest room, but this is starting to pull it all together. Let me know if you decide to give it a try!