
Spring Greenery, Five Ways
It feels official after that beautiful Easter weather – spring is on its way! I've spotted a few buds popping up in my garden, but am all too anxious to start seeing green. Luckily, I've teamed up with the lovely Bronwen from Twig Florals to show you some creative and accessible ways to bring greenery into your home this spring (or year-round)! We had a fun day shooting with Lauren Gabrielle Photography, and I was thrilled to collaborate with Bronwen again, who was the talent behind our wedding florals.
Many of the greens featured here can be found at a garden center or grocery store (think Trader Joe's, Whole Foods, or Heinen's). We'd also recommend calling your local florist – they are usually willing to order anything specific you might need. Just be sure to ask about minimum order quantities, since they are likely working with a wholesale supplier. Continue reading below to learn about the varieties we used, and see how to spruce up your home for spring!


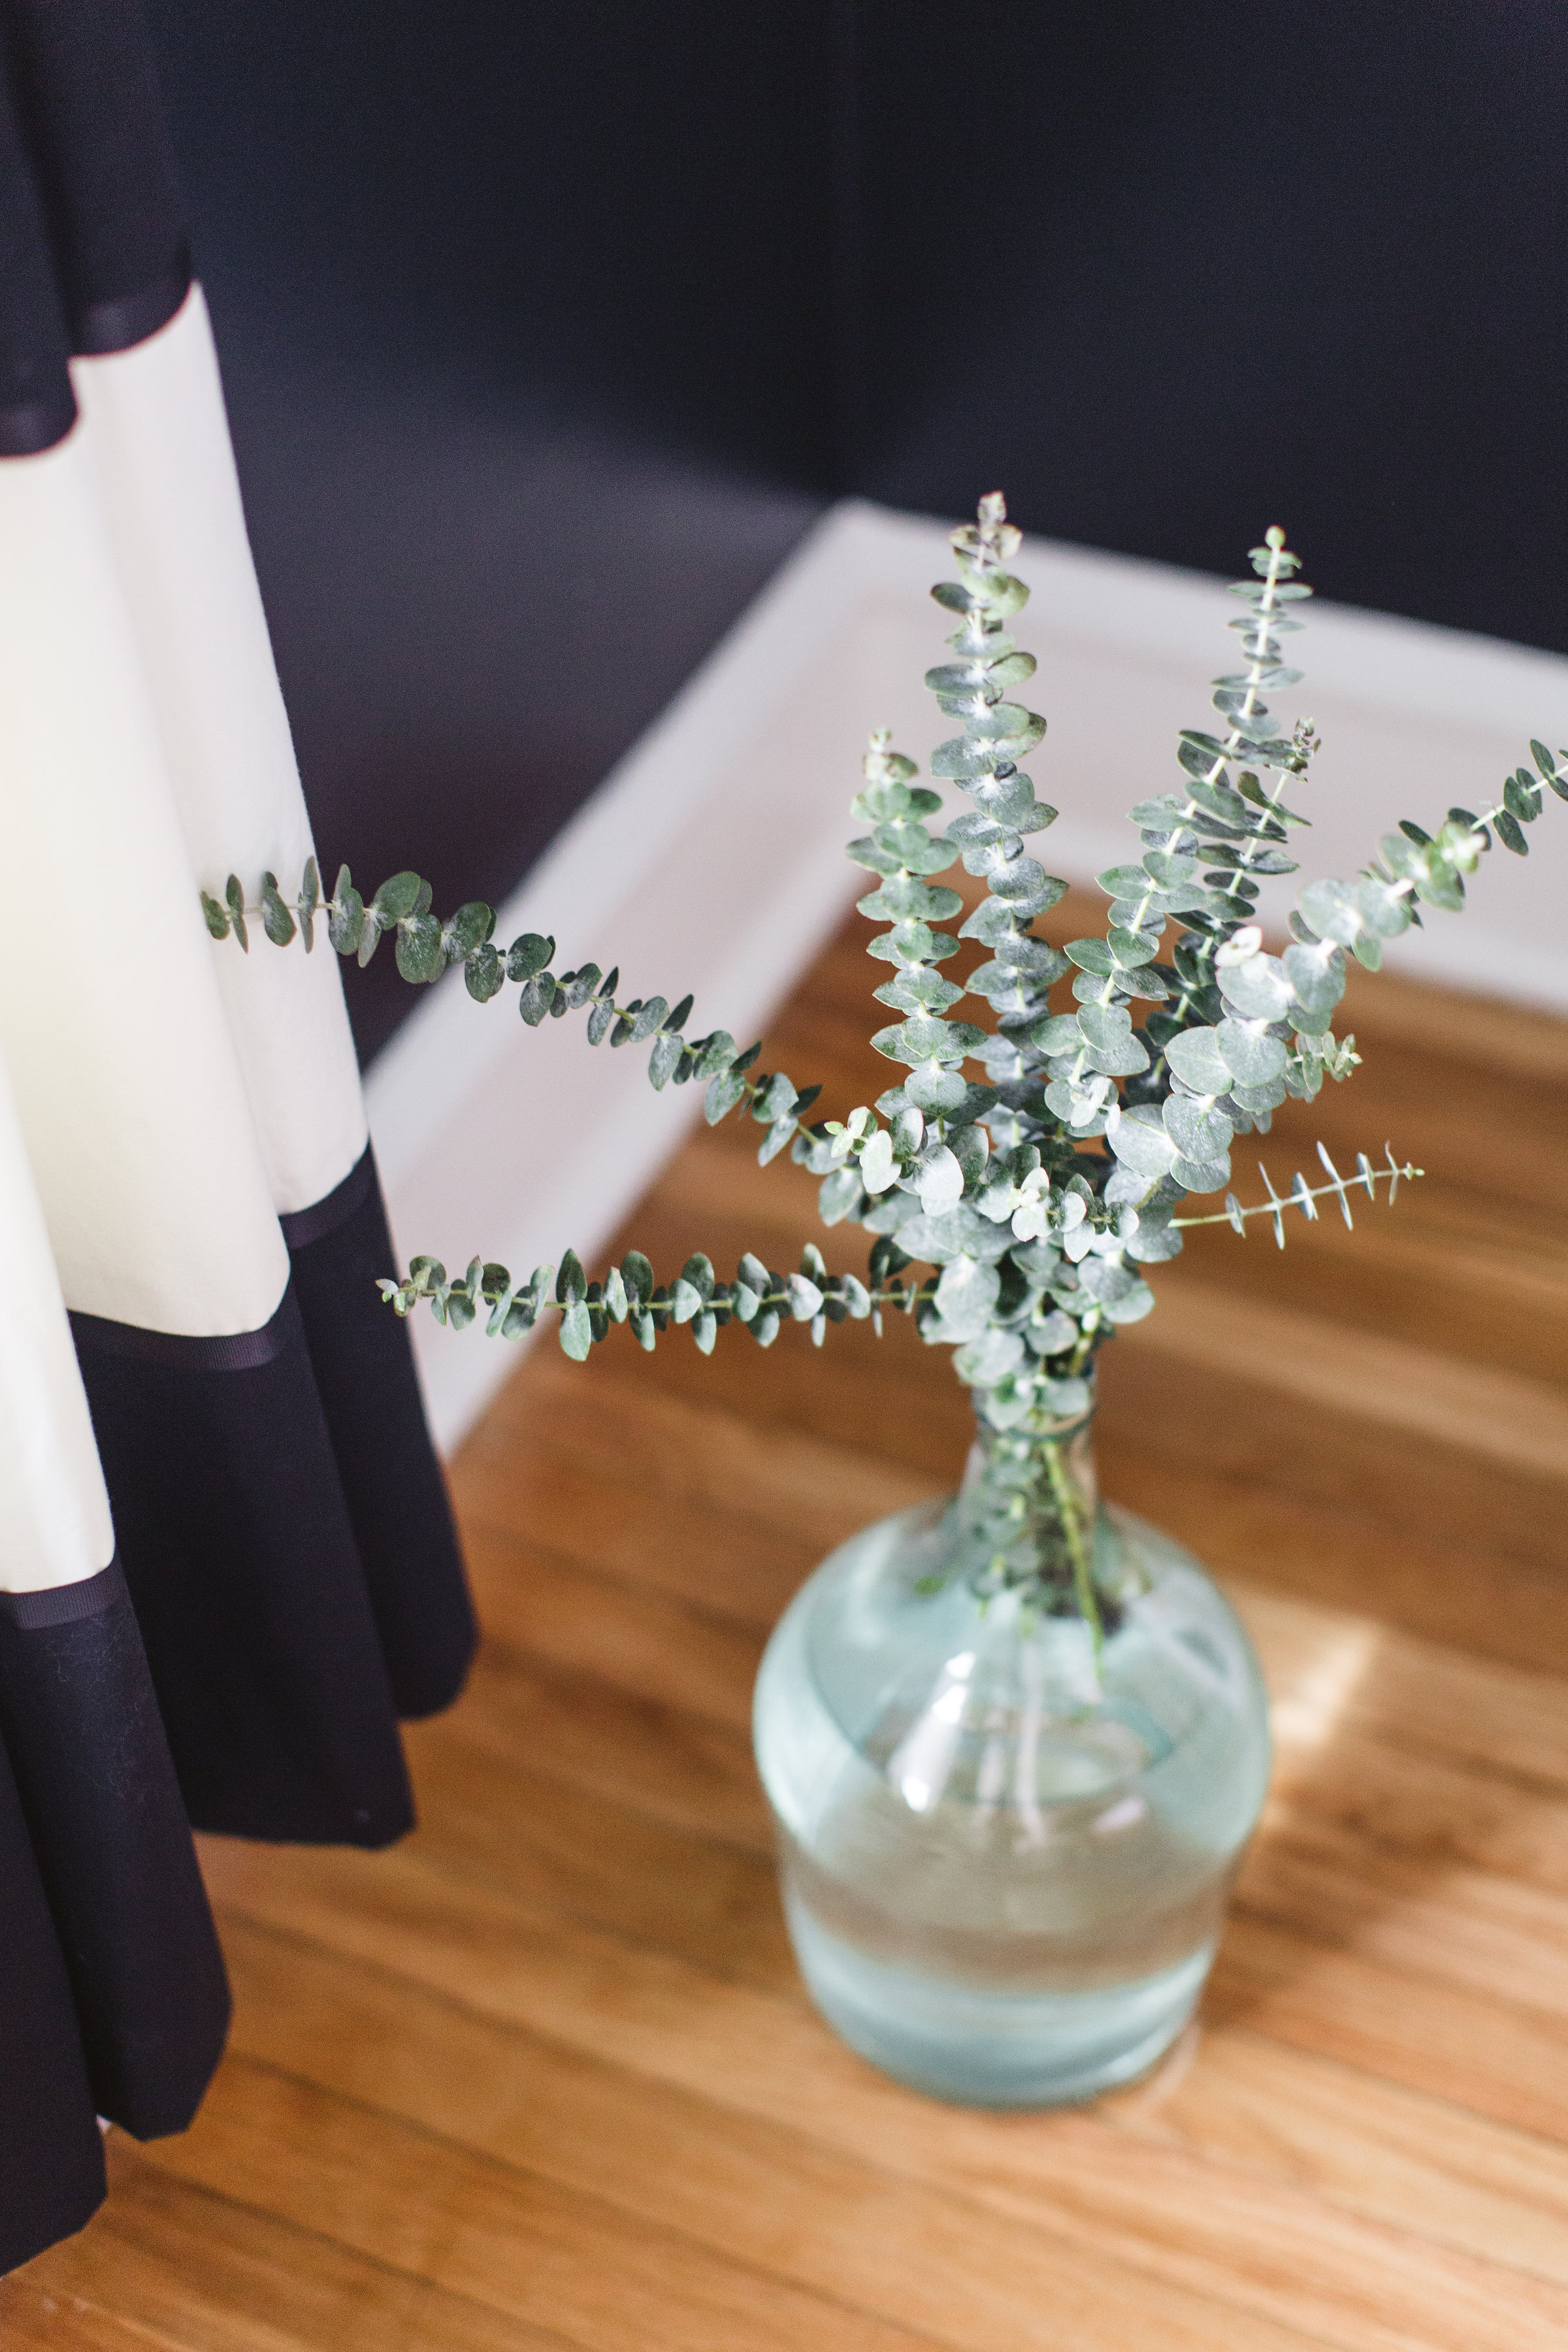
Greens Used: Baby Blue Eucalyptus
Blue eucalyptus can be so impactful – it smells amazing, and its silvery blue leaves add a striking focal point to any color palette. I usually place a sprig or two in bud vases, but loved Bronwen's suggestion to fill a large vessel with a bunch of stems. Here, we used a terra cotta crock and an oversized blue bottle, but you could also recreate the look in a galvanized metal vase or bucket. The look is very easy to accomplish – fill your vessel with water, and place your stems in, a few at a time. Arrange the taller stems toward the middle, with shorter stems along the sides.


Greens Used: Rosemary, Tree Fern
For the freshest greens, look no further than your own backyard! Bronwen suggests exploring your yard or neighborhood for vines, fresh-cut sprigs from bushes, or even herbs from your garden to add to small bud vases or bottles. Rosemary, mint, thyme, or lavender make beautiful and aromatic additions to small spaces or shelves. These would look charming in a kitchen, on a bar cart, or on a side table in a guest room. Don't have an herb garden? Hit up your grocery store for pre-packaged stems in the produce section.


Greens Used: Ruscus Vine, Green Hydrangea, White Aster
This wall arrangement would make a beautiful statement for a party, a shower, or seasonal brunch. Here, we used a "K" as a monogram design, which would be super cute to represent a bride's new last name, or a baby's initial for a baby shower. You could also arrange the greens in a shape instead of a letter – a heart or circular wreath would work nicely. This makes a statement no matter where you hang it – we chose to place it over a mantle, but you could also arrange this over a bar cart or table setup for a party.


Completing this arrangement takes a bit of time and finesse, but it's not overly advanced. We recommend starting with a sketch, then translating that to the wall.
Cut the vine into sections to make up the limbs of the letter (the sizes will depend on how large you're making it). Attach each vine to the wall using masking tape, securing where needed. Try to hide the tape if you can, or choose a tape that matches your wall color. Once your vines are in place, you can add bits of florals to enhance the monogram. Here, we used small snips of green hydrangea and white aster (which look like mini daisies) to complete the spring look. Attach them to the vines using tiny bits of tape.
If you can't get your hands on ruscus vine, you could likely forage some English ivy from your neighborhood (you know, the vines that grow like crazy over fences, walls, basically anywhere you don't want it)! Green hydrangeas always seem to be available at Heinen's (for the local readers) and you could probably find the white aster there as well.


Greens Used: Sword Fern, Tree Fern
For a more everyday look, use a collection of mini bottles to create a statement in numbers. These are easy to find at craft stores or thrift shops, and look great when arranged with a variety of other colors, shapes, and sizes. Here, we filled them with a mix of sword fern and tree ivy – the contrast of the whispy tree ivy and the strong, straight nature of the sword fern makes for an interesting pairing. Sticking with only 2-3 types of greenery will also keep the look from getting too busy. Arrange them on a console table as shown, or line them up on a dining table for an interesting centerpiece.


Greens Used: Seeded Eucalyptus, Rosemary
This is another super simple (yet super beautiful) way to spruce up your dining table for a spring brunch or a romantic dinner at home. To create this look, you'll want to start with approximately 10-12 stems of seeded eucalyptus. You can usually find seeded eucalyptus at a premium grocery store, but I've also been able to get it through a local florist.
Using scissors or pruning shears, trim off the thick portion of each stem, leaving only the more delicate main stem that the leaves and seeds are attached to. Starting from one end of the table, place one stem after another, overlapping them to create fullness. Fluff and arrange the leaves as needed to fill in any gaps or to hide the stems of the other pieces. And that's it!


You can enhance the look by introducing some greenery in your place setting – here, we simply tucked a sprig of fresh rosemary into the napkin ring.


Another way to enhance the "green" of your table setting is to include them in in edible form! We loved the added sprigs of mint on the cakes – it looks so fresh and ties the greenery element into the desserts. These stunning bundt cakes were made by Salt + Honey Baking Co. and tasted as luxurious as they looked. We were certainly not complaining about eating the props ;)
Bronwen and I were excited to share this little dose of DIY, just in time for spring. I love to bring the outdoors in, and until my garden starts blooming, these are five easy ways to do it (which don't involve the constant care of a houseplant, either)! If you have questions about any of the looks you've seen here, feel free to leave a comment and either Bronwen or I will happily answer them. Huge thank you again to Bronwen, Lauren, and Salt + Honey for making this little collaboration happen. Happy spring to you all!